Intro
Ultros is a performant market board tool for Final Fantasy 14.
Discord bot
To make the most out of ultros, you should consider inviting the Discord bot. The website is mostly more featured than the bot, with the exception of alerts, which only work on Discord.
If you come across parts of this guide that need improvement, feel free to raise an issue in the discord, or via the github issues
Setting a home world (and price zone)
To make the most out of Ultros, you should set your homeworld. This will enable prices to show up in search, and within the item explorer.
On the website, head to settings and you should see a page like this.

Simply choose your world and price zone and you should start to see prices show up in search.
Note that this will have to be done on each device that you access Ultros from as currently this is not stored in the database but just stored as a local cookie.
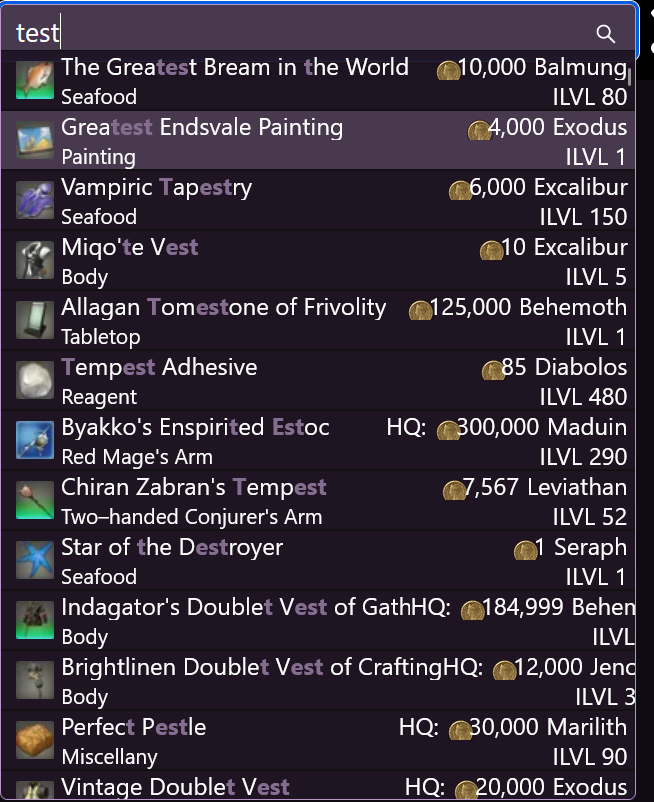
Search
Item Explorer
Ultros’ item explorer is useful when you want to find items that you might not know the name of. It allows you to sort by price, ilvl, name, or when it was added to the game.
Note: The item explorer is only available via the website.
Navigating to the item explorer
To use to the item explorer, click the wrench and screwdriver next to the search box.
From there you can select an item category. The first several categories will match the categories found on the ingame market board, and the last buttons will just show you all of the gear that is available for a class.
Sorting
The following sorting options are available
- ADDED - When the item was added to the games files (this may not always make sense)
- PRICE - (note: By default, the item explorer will use prices from your price zone- see set your home world for how to configure)
- NAME - Sorts alphabetically by the item’s name
- ILVL - Sorts by the most expensive
This enables you to search for say, the most expensive minion, or the most recently added samurai gear
Characters
In Ultros, linking a Final Fantasy XIV character to your account unlocks features that require character identity, such as:
- Retainer Tracking: View your retainers and their sales.
- Undercut Alerts: Receive notifications when your retainers are undercut.
By verifying your character, you prove ownership of the character on the Lodestone, allowing Ultros to securely associate that character’s data with your account.
Adding a Character
To add a character to your Ultros account:
- Navigate to the Profile Settings page (usually found in the user menu).
- Click the Add Character button.
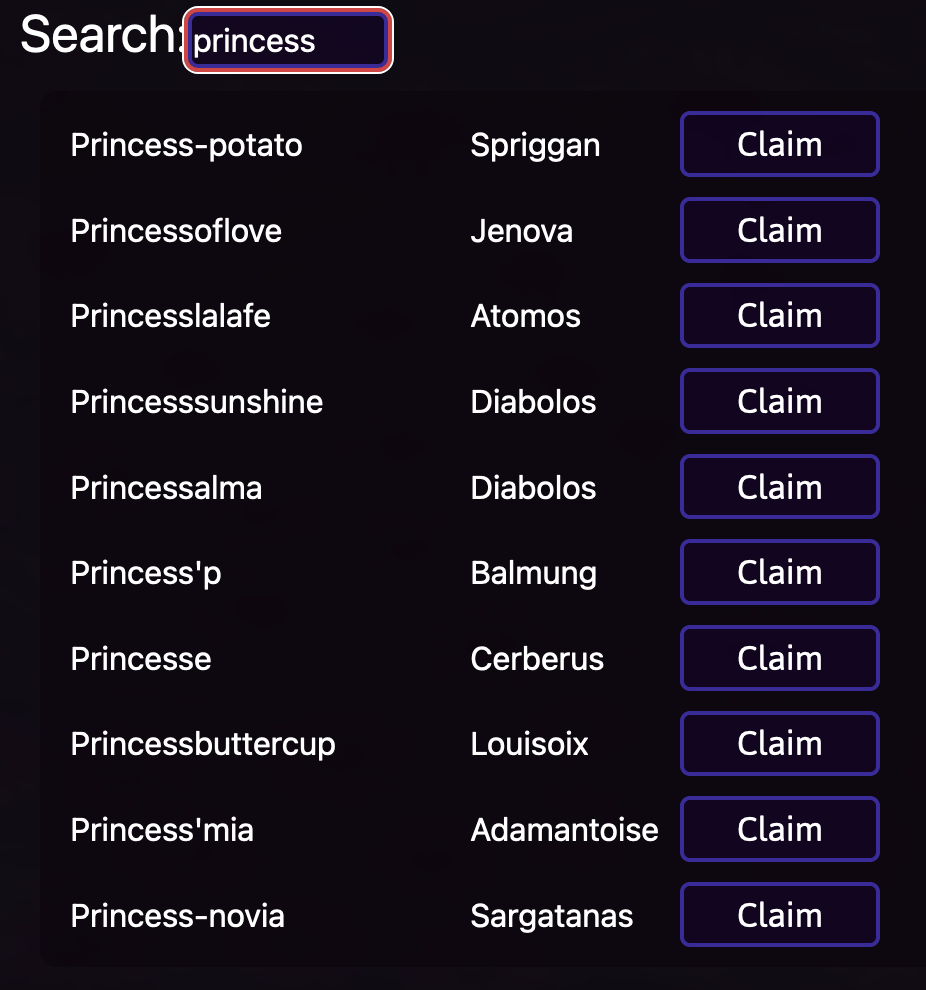
- Enter your character’s name in the search box and click the search icon.
- Find your character in the search results and click Claim.
- You will be given a verification code (e.g.,
Ultros-Claim-12345). - Copy this code and paste it into your character’s profile on the Lodestone (e.g., in the bio/introduction section).
- Wait for the verification process to complete. You can verify the status in the “Pending Verifications” section of the Profile Settings page.
Once verified, your character will appear in your “Characters” list, and you can start using character-specific features.
Retainers
Ultros is able to track retainers and give a summary. You must be logged into a Discord account.
The website and Discord bot stay in sync, so as long as you use the same account you should be able to view retainers added via the website on the bot, or retainers added via the bot on the website.
Once you add retainers to your account you should be able to view them on the website like this:
If you’re logged in, you can view this page yourself here, or by clicking on the retainers button and then clicking the undercuts button.
Managing retainers
This chapter covers managing retainers via the website and discord.
Using website
Once you’re logged into ultros you should be able to join the server. https://ultros.app/retainers/edit
From there- you should be able to see all of the retainers that you have added to your account. in a table and a search bar.
Adding a retainer
Type the name of your retainer into the search box and then click the claim button when the retainer shows up.
Updating retainers
Once you have retainers added, you should see them listed here:
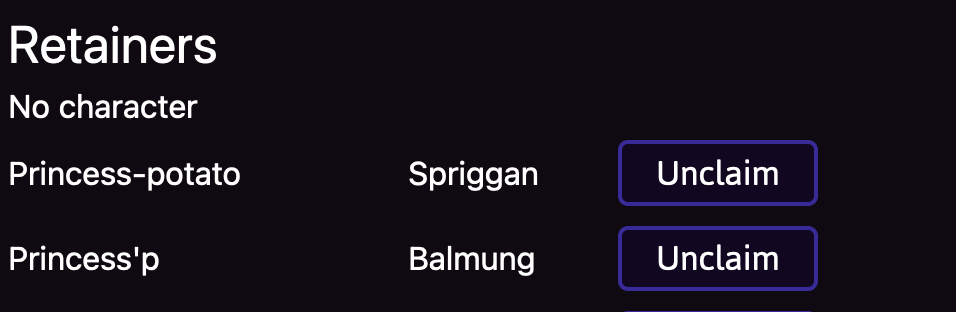
It is possible to associate a retainer to a specific character, which is why we see “No character” above. Character management is covered here
To reorder the retainers (I highly suggest you match the order of your retainers in game), you may simply drag and drop them.
To remove them, you just need to click unclaim!
Using Discord
Adding a retainer on Discord
In discord, use the command
/ffxiv retainer add retainer_name to add a retainer. As you type the retainer name, the autocomplete should show the name and server of the retainer like this.
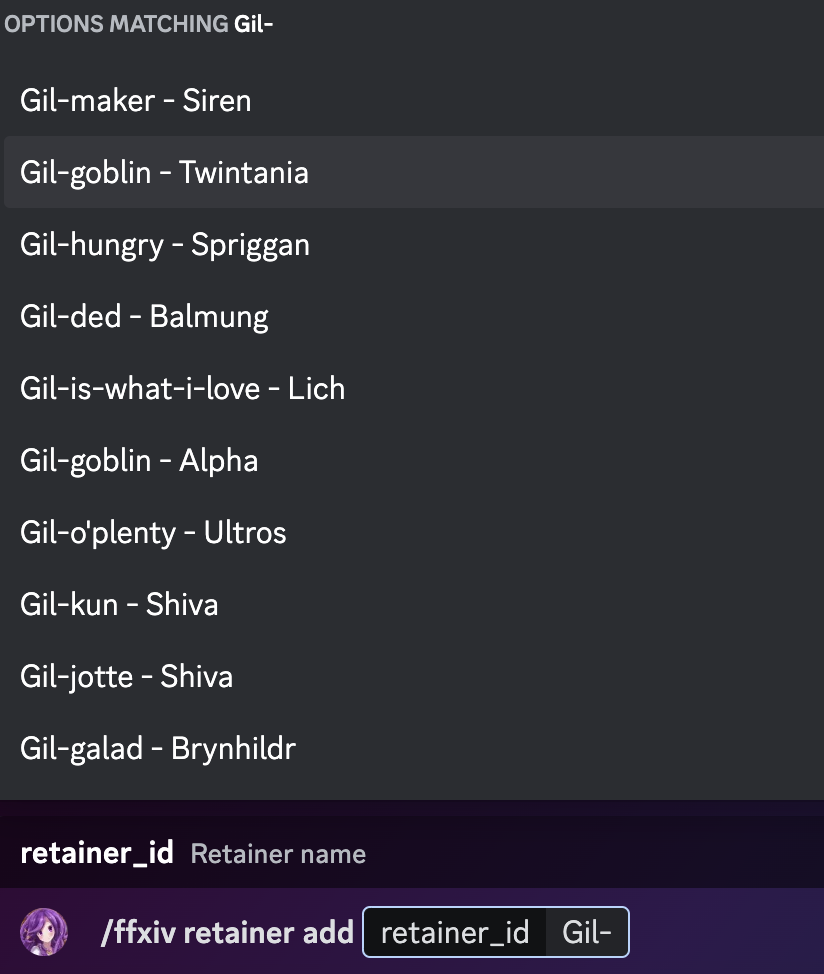 make sure you click on the retainer and server that matches yours. Typing th complete name won’t work- it must be chosen from the autocomplete list.
Remove
/ffxiv retainer remove
List
You can check the list of all of your retainers with
/ffxiv retainer list
Tracking retainers
Once you’ve gotten retainers, you should now be able to view their listings that Ultros is aware of.
Website
The website should be fairly intuitive. Just click on retainers, and then all listings and you should see this page.
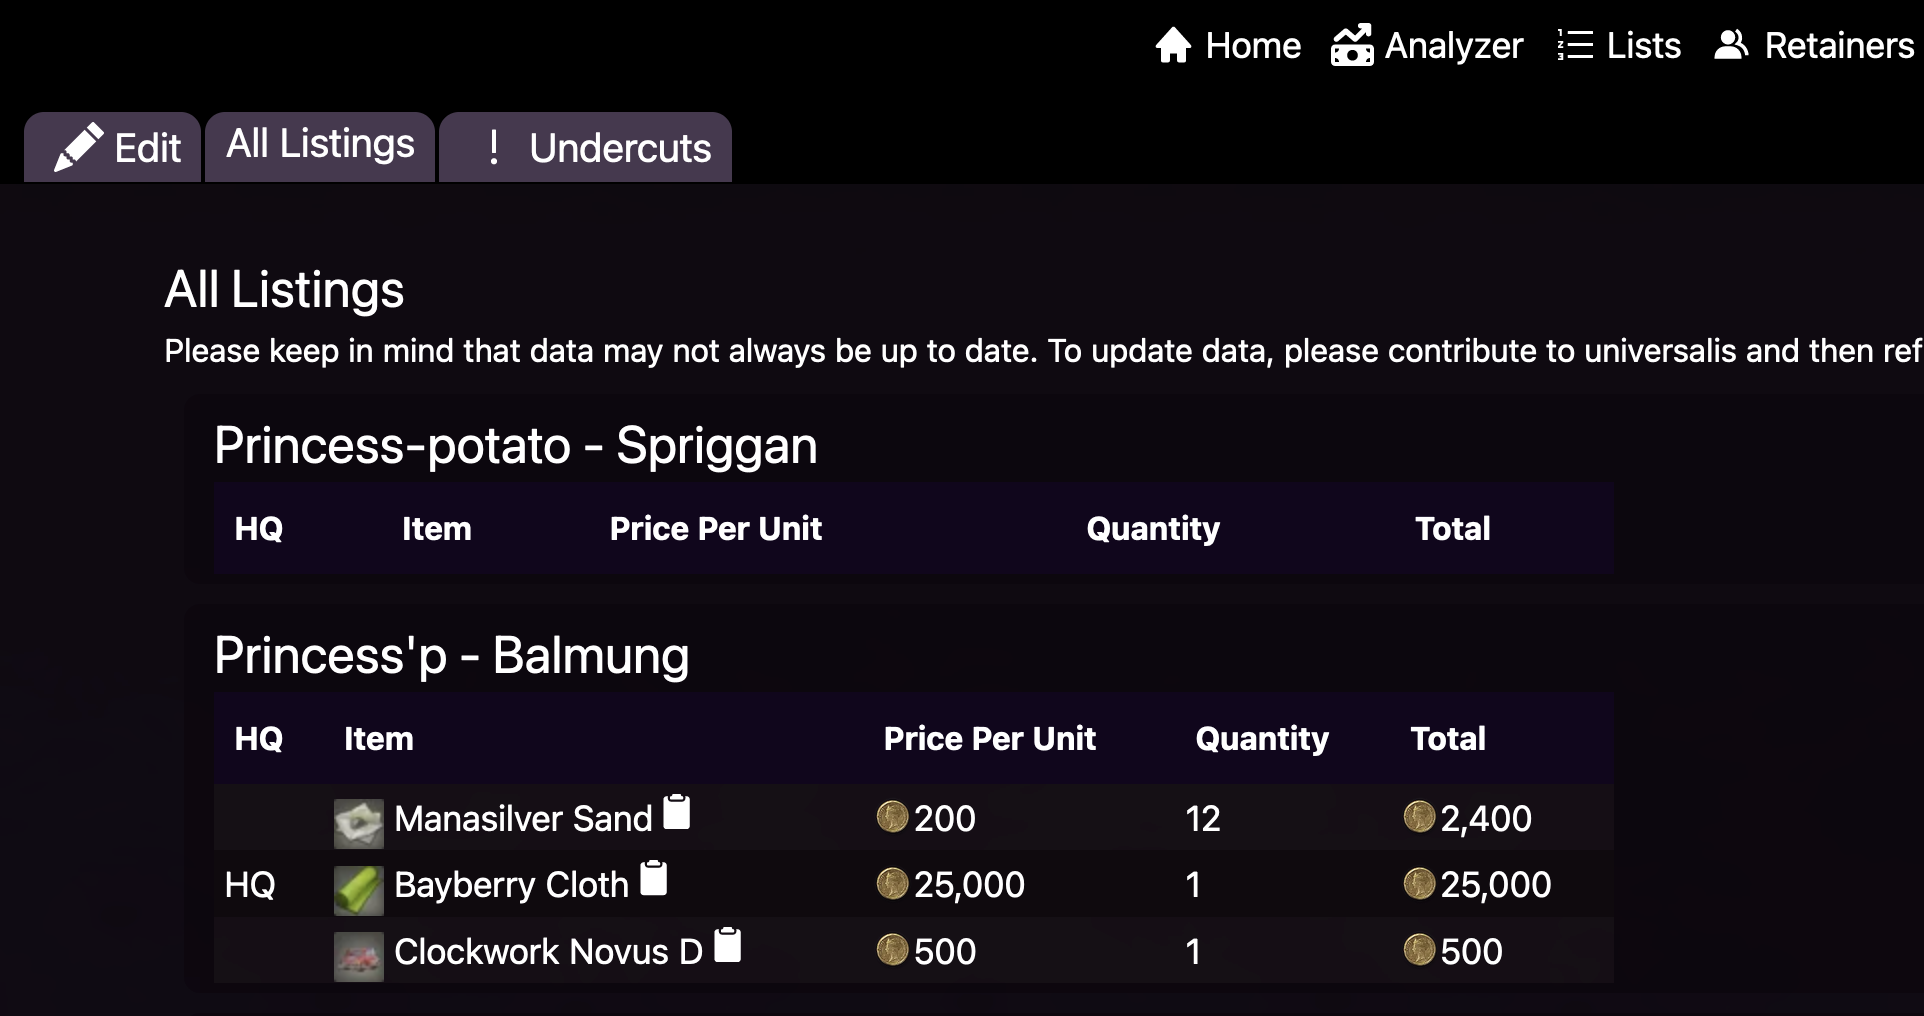
This page shows all of the listings that are currently known to Ultros that belong to your retainer. This likely won’t match what your retainer sees in game, but this should match what people searching Universalis and Ultros should see.
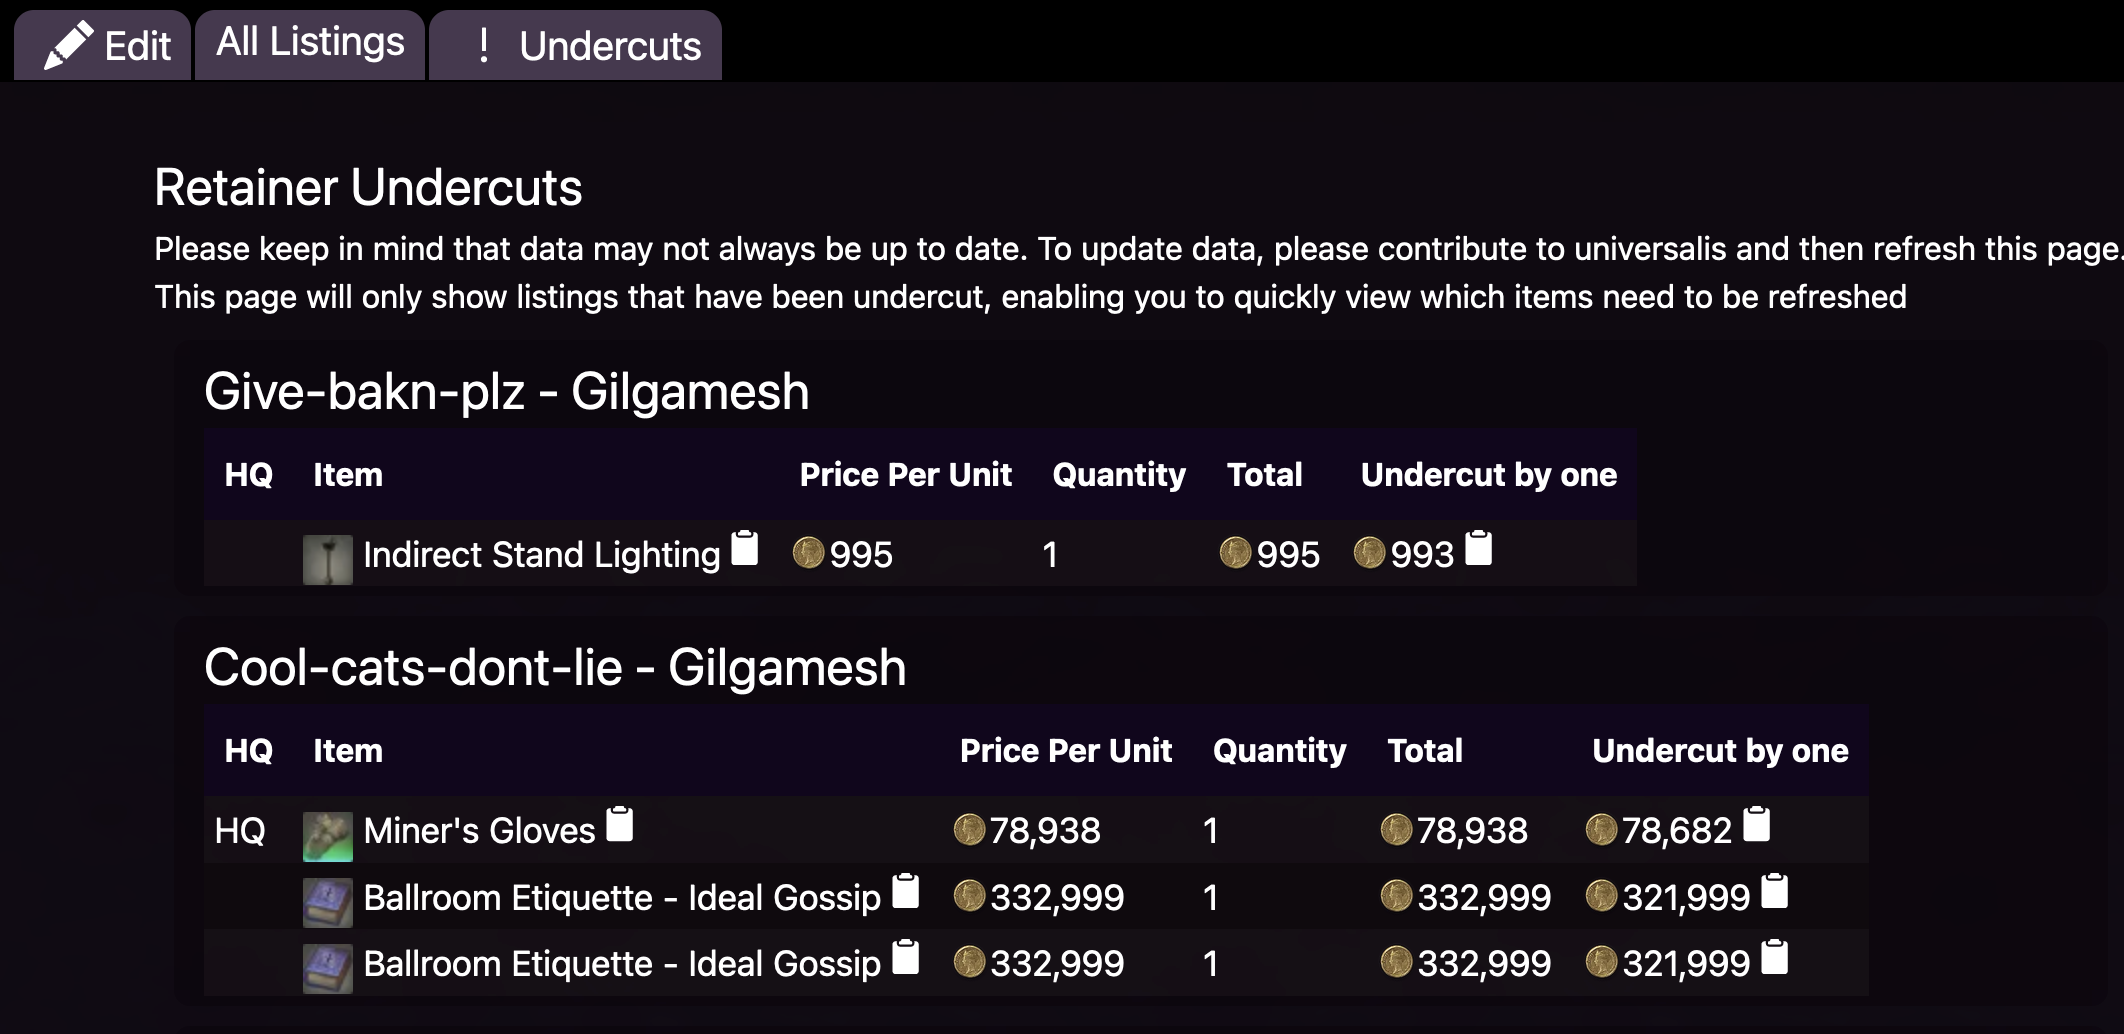
The more useful page is the undercuts page which shows just the listings that your retainer has been undercut on.
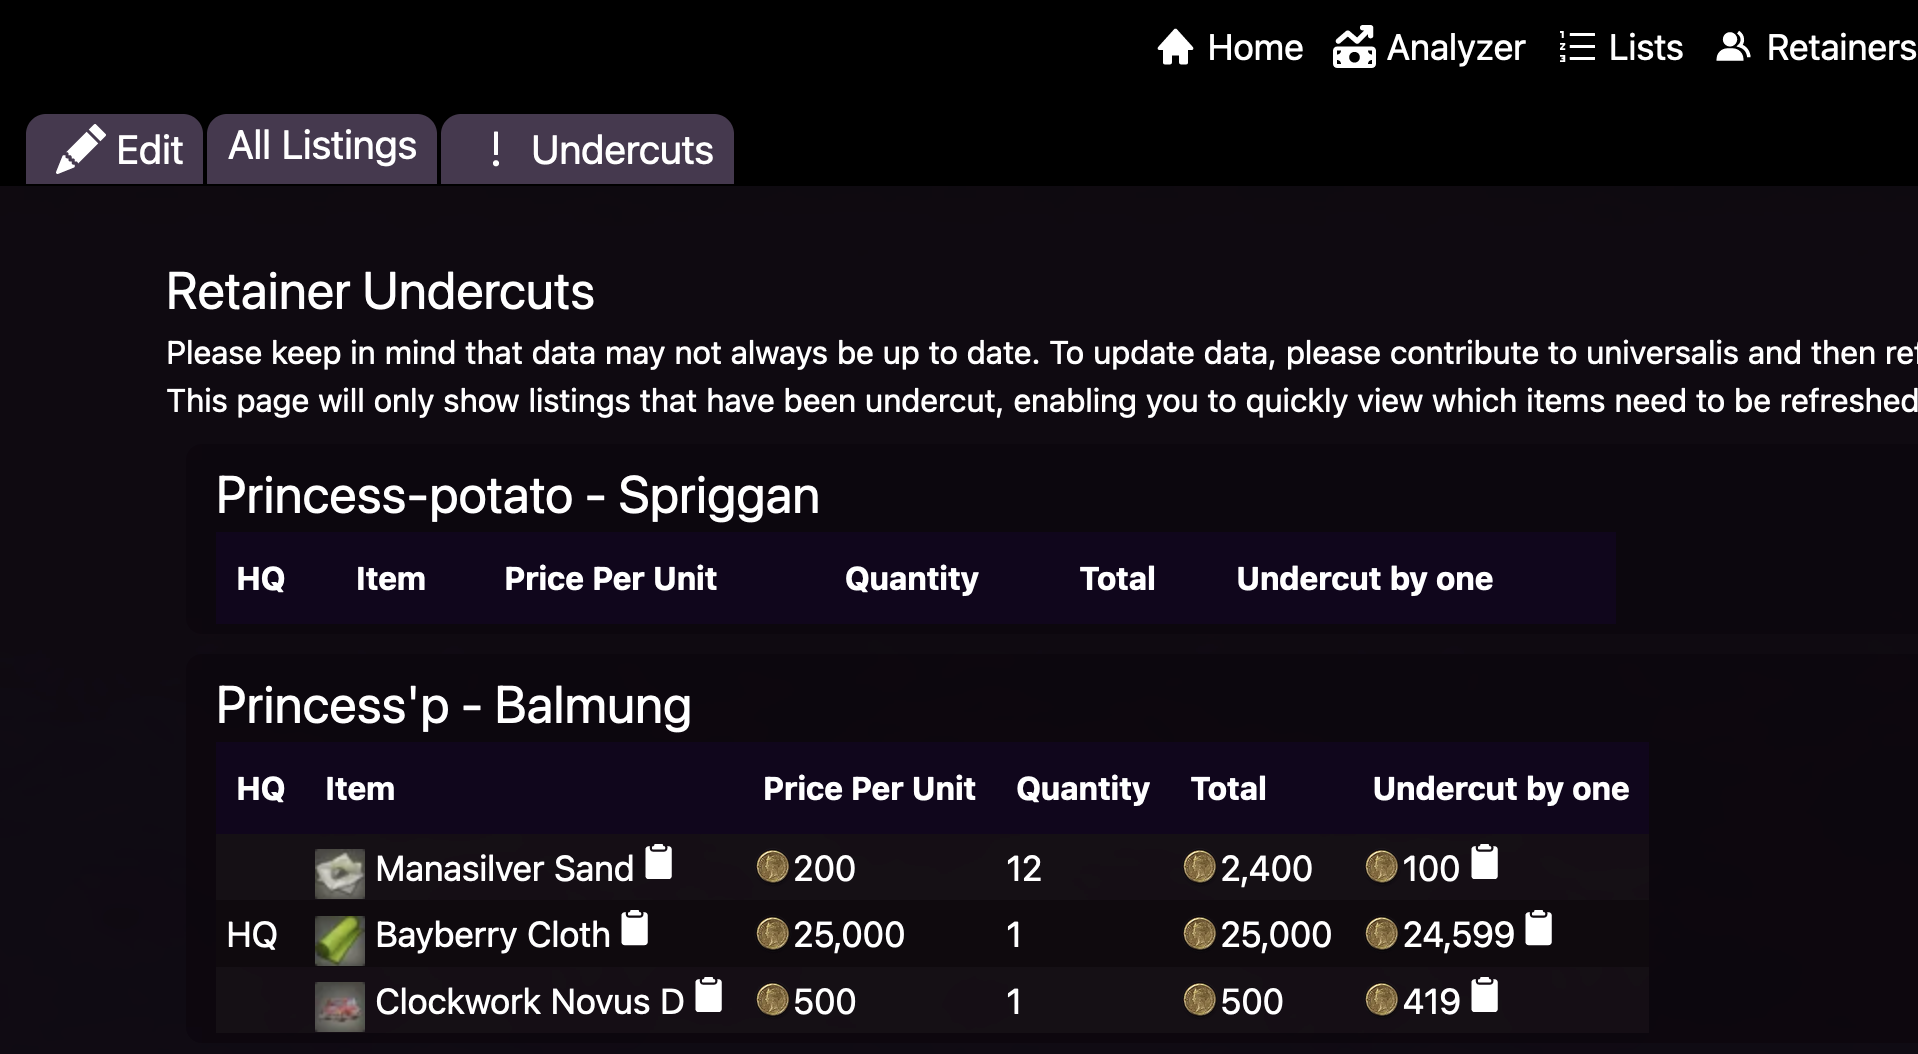
The undercut by one option shows the lowest price minus one, thus is the price you need to be the cheapest on the market board.
Any listings that aren’t undercut aren’t available on this page.
Discord
ffxiv retainer check_listingswill show all of your retainer’s listings/ffxiv retainer check_undercutswill show just the listings that you’ve been undercut on.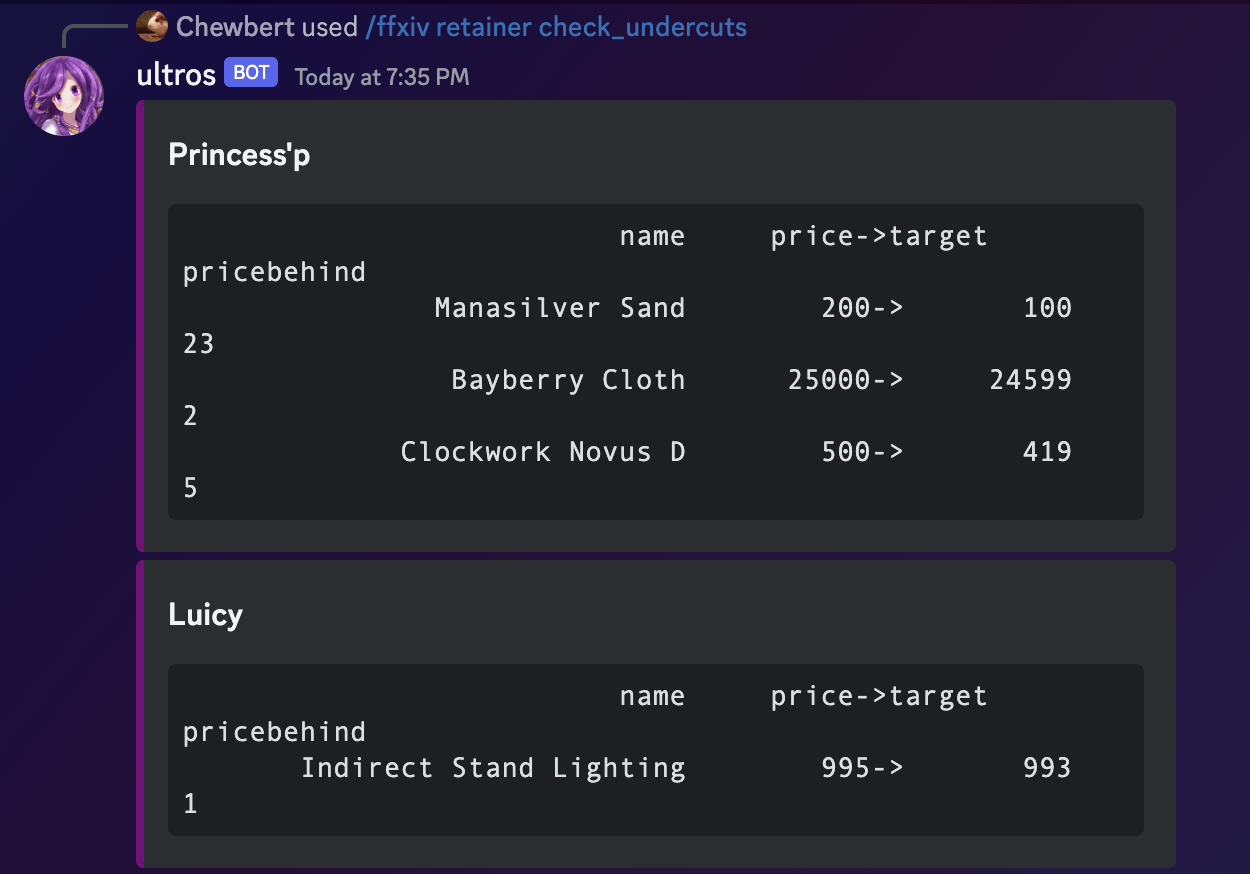
Retainer Undercut Alerts
Ultros is able to send a Discord message to a channel whenever one of your retainers gets undercut. The bot must be added to your Discord server, so ensure you’ve invited the bot
Adding alerts to a channel
Currently ultros only supports alerting via Discord.
Once you’ve added retainers to your account, you can request to get alerts from the bot using /ffxiv retainer add_undercut_alert
If you have the bot in the server you’re in, it should look something like this:

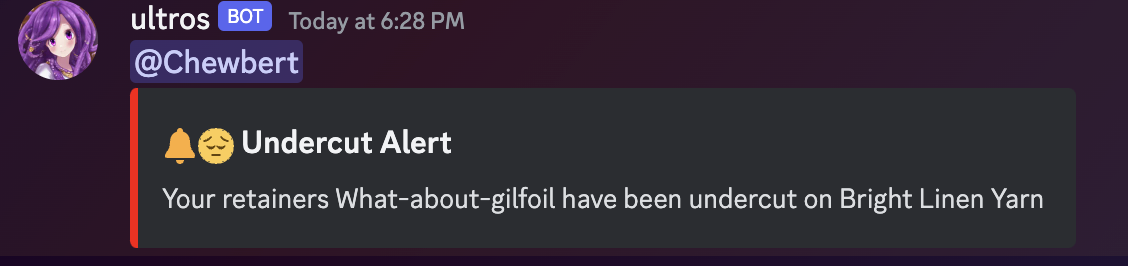
Once you use this command in a Discord channel- it should send an alert similar to this to that channel.
By default, alerts will mention you and look like this
Turning alerts off
To remove alerts from a channel, you may use the /ffxiv retainer remove_undercut_alert command to stop alerts from being sent to a channel
Lists
Lists in Ultros allow you to track items, recipes, or materials for various purposes, such as crafting projects, market monitoring, or shopping lists.
Creating a List
- Navigate to the Lists page (
/list). - Click the + (Plus) button to create a new list.
- Enter a Name for your list.
- Select a World, Datacenter, or Region filter. This filter determines the pricing data shown for items in this list.
- Click the Save button.
Managing Lists
On the Edit Lists page (/lists), you can:
- Filter your lists by name.
- Edit a list’s name or world filter by clicking the pencil icon.
- Delete a list by clicking the trash icon.
Adding Items to a List
You can add items to a list from any item page or search result that displays the “Add to List” button (list icon with a plus).
- Click the Add to List button on an item.
- In the modal that appears, select the Quantity and whether you want the High Quality (HQ) version.
- Click the Add button next to the list you want to add the item to.
Viewing a List
Clicking on a list name takes you to the list view, where you can see the items in that list, their quantities, and market data based on the list’s configured filter.
Importing a Makeplace List
This guide will walk you through uploading the txt file from MakePlace into an Ultros list so that you can use it as a shopping list.
Note that this feature currently only supports marketplace items, any items not obtainable on the marketboard will be skipped in the list.
Getting the txt from makeplace
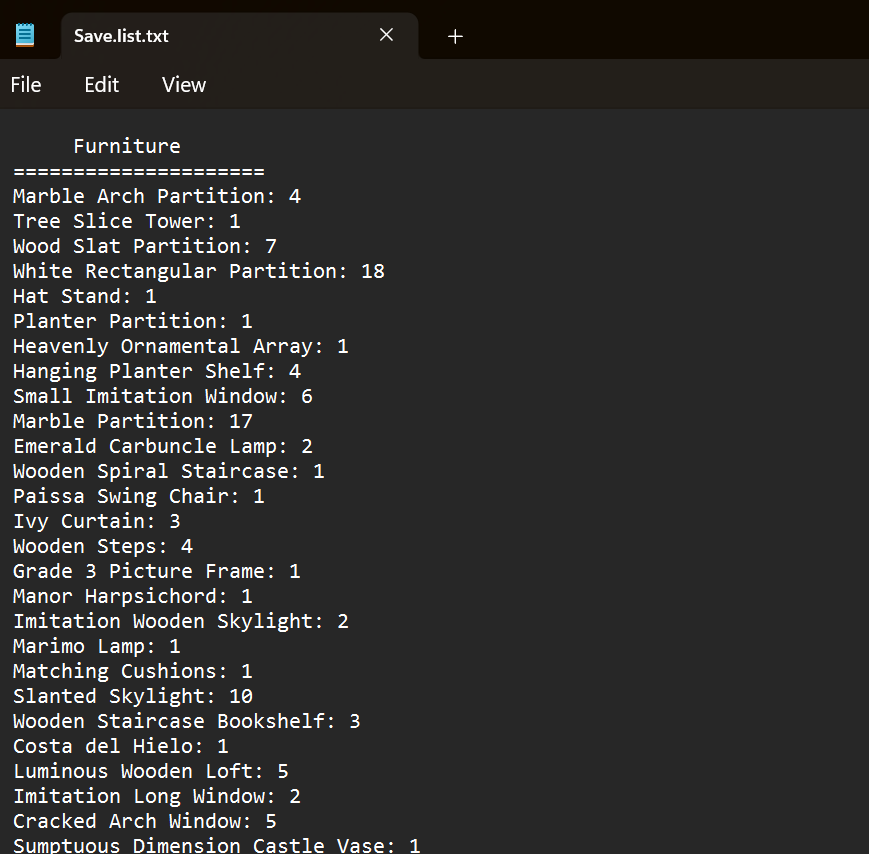
When you save in Makeplace it will also save a .txt file along side the .json file that contains all of the items that you want to use for your house.
Usually this file is found in the MakePlace directory in “Save”
Importing into a list
Open the list that you wish to add all the makeplace items to and then press the “Make Place” button at the top of the page.
Copy the txt file from the previous step into the text box. You should see “x items ready to add” at the bottom.
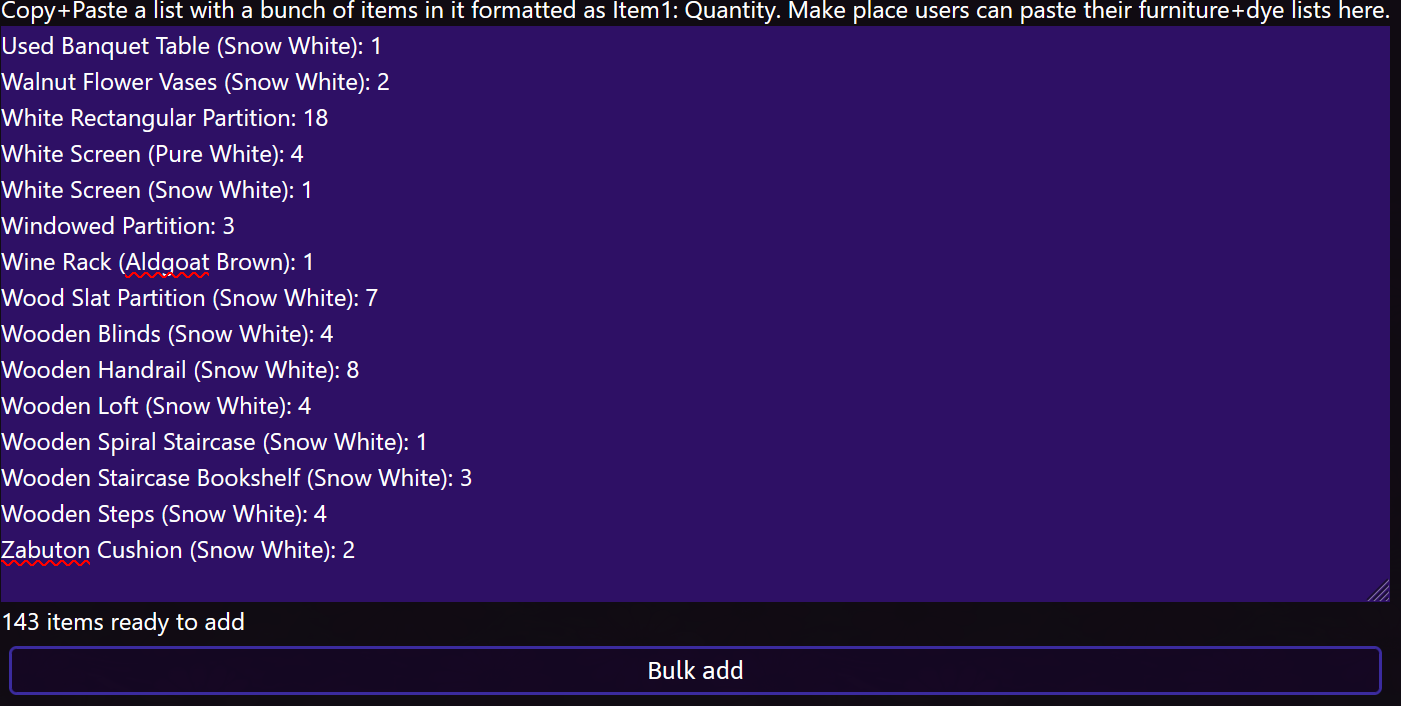
When ready, press “Bulk add” and the list should update with the newly added makeplace items.
Flip Finder
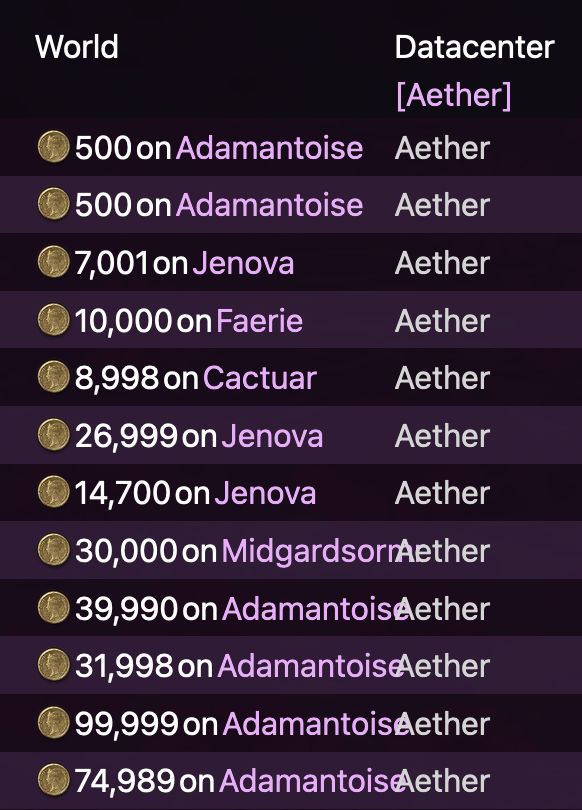
The core of Flip Finder is the ability to find items that are cheaper on other servers.
how to make gil as an ascii diagram

   *---------------*   travel to   *-----------------*
   |  Sargatanas   |<--------------|   Your server   |
   |  Bronze Ingot |   sell back   |                 |
   |   10gp x 100  |-------------->|  1,000gp x 100  |
   | 1,000gp total |               | 100,000gp total |
   *---------------*               *-----------------*

           100,000gp - 1,000gp = 99,000gp profit
Getting started
Navigate your browser to the Flip Finder- if you’ve set your homeworld, you should be able to just click on the flip finder button and have it navigate you directly to your homeworld, otherwise, select your homeworld from the dropdown.
Sorting & Filtering
Filtering
The top row contains several options for filtering that are just textboxes

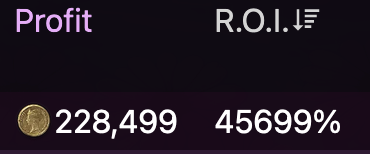
- Minimum profit - Calculates how much money you could earn from buying and selling the item
- Minimum ROI - The % that your money would increase- with a 300% r.o.i. for every 1 gil you spend, you could earn 3 gil in return.
- Minimum time - This takes the average time between sales from the last 4 sales. This can be a little inaccurate if someone has just purchased, but is generally useful.
- World & Datacenter - You can filter the query down to just a single world by clicking on the world in the flip finder itself, unclear it by clicking the label at the top
Sorting
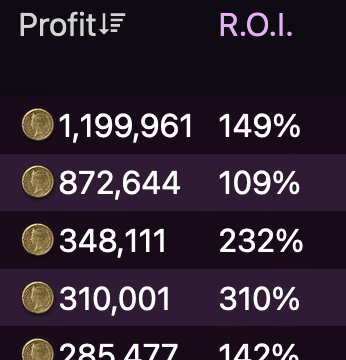
Sort by investment changes the table to be ordered by how much money will be earned per gil spent.
This is often best combined with a healthy minimum profit setting- but can be very helpful if you don’t have much gil to start with.
Sort by profit changes the table to be ordered by how much total profit will be earned
Consider setting a minimum ROI of around 100% when using this. This can be helpful when you have limited spaces in your inventory.
Recipe Analyzer
The Recipe Analyzer is a tool designed to help you find profitable crafting recipes. It analyzes the market data for the selected world to calculate the potential profit and Return on Investment (ROI) for crafting items.
How to Use
- Access the Tool: Navigate to the Recipe Analyzer from the Apps menu.
- Select World: Choose the world you want to analyze data for.
- Configure Crafter Levels: To see relevant recipes, you must configure your crafter levels. Click on “Adjust Crafter Levels” to set your level for each class. The analyzer will only show recipes you can craft.
- Filters: Use the filter cards to narrow down the results:
- Minimum Profit: Filter out recipes with low profit.
- Minimum ROI: Filter by Return on Investment percentage.
- Minimum Daily Sales: Filter by sales velocity to ensure the item actually sells.
- Job Filter: Focus on specific crafting jobs.
- Options:
- Include Sub-crafts: Checks if it’s cheaper to craft intermediate ingredients rather than buying them.
- Require HQ Ingredients: Calculates cost assuming you buy High Quality ingredients.
Understanding the Data
The results table displays the following columns:
- Item: The crafted item name and icon.
- Profit: The estimated profit (Market Price - Crafting Cost).
- ROI: Return on Investment percentage. High ROI means you get a lot of profit relative to the cost.
- Cost / unit: The estimated cost to craft one unit. Hover over the “sub” icon (if present) to see the breakdown of sub-crafts.
- Price: The current lowest market board price.
- Daily Sales: The estimated number of sales per day.
- Avg Price: The average sale price from recent history.
Tips
- Use the Daily Sales filter to avoid “trap” items that have high profit margins but never sell.
- Enable Sub-crafts to find hidden margins where crafting intermediate materials significantly reduces costs.
Leve Analyzer
The Leve Analyzer is a tool for identifying profitable crafting Levequests. It calculates the potential profit by comparing the cost of acquiring items (from the market board) with the gil reward and item rewards from turning them in.
How to Use
- Access the Tool: Navigate to the Leve Analyzer from the Apps menu.
- Select World: Choose the world you want to check prices on.
- Job Filter: Use the dropdown to filter by a specific crafting job (e.g., Culinarian, Alchemist).
- Minimum Profit: Set a threshold to hide low-profit levequests.
How Profit is Calculated
The tool calculates profit using the following formula:
Profit = Revenue - Cost
- Revenue: The Gil reward from the levequest + the estimated value of the reward items (based on market prices and probabilities).
- Cost: The market board price of the required turn-in items.
Understanding the Data
- Leve / Item: The name of the levequest and the item required.
- Profit: The estimated net profit.
- Revenue: Total value you get back (Gil + Items).
- Cost: Total cost to buy the items.
- Level: The level of the levequest and the job category.
Notes
- This tool assumes you are buying the turn-in items from the market board. If you craft them yourself, your profit margins might be higher (check the Recipe Analyzer for crafting costs).
- The “Revenue” calculation includes the expected value of random item rewards, so actual returns per turn-in may vary.
Currency Exchange
The Currency Exchange tool helps you convert non-tradable currencies (like Grand Company Seals, Scrips, or Tomestones) into Gil by identifying the most profitable items to purchase and sell on the market board.
How to Use
- Access the Tool: Navigate to the Currency Exchange from the Apps menu.
- Select Currency: Browse or search for the currency you want to spend (e.g., “Storm Seal”, “White Scrip”).
- Input Amount: Enter the amount of currency you have available.
- Analyze Results: The tool will list items you can buy with that currency, sorted by potential profit.
Understanding the Results
The results table shows potential trades:
- Shops: Where you can buy the item.
- Cost: The currency cost per item.
- Item: The item you receive.
- Price/item: The estimated market board price per item.
- Qty recv: How many items you can buy with your total currency.
- Profit: The total estimated profit (Price/item * Quantity).
- Hours/sale: A metric indicating how fast the item sells. Lower numbers mean faster sales.
Tips
- Check Sales Velocity: High profit doesn’t mean much if the item takes months to sell. Look for items with a low “Hours/sale” value.
- Diversify: Instead of spending all your currency on one item that might flood the market, consider buying a mix of profitable items.
Hotkeys
Global hotkeys
- Open search -
CTRL + k, orCMD + kon mac will open the search
Data notice
Ultros relies on Universalis for data- and might not be always up to date. If you are at the retainer bell and check your retainer’s related prices, it will remove the listing from Universalis and thus Ultros as well. If you need the listing to show up immediately, you should check the market board without using the retainer bell.
In order to update Ultros’ data, you should contribute to Universalis.